Unshaken Photshop CC’s Camera shake filterUntitled Blog Post NameI’ve had PS CC for some months now and like most beginners I’m a little overwhelmed by the huge behemoth that it is. My creativity and experience is the thing that sets the barriers. I try and learn a little by watching Adobe TV and reading articles on the web and in magazines. There are just so many and everyone has a different way to explain things. Let me state right away this in no way is a “How To” type post it’s more of a “What it can do for you.” Post.
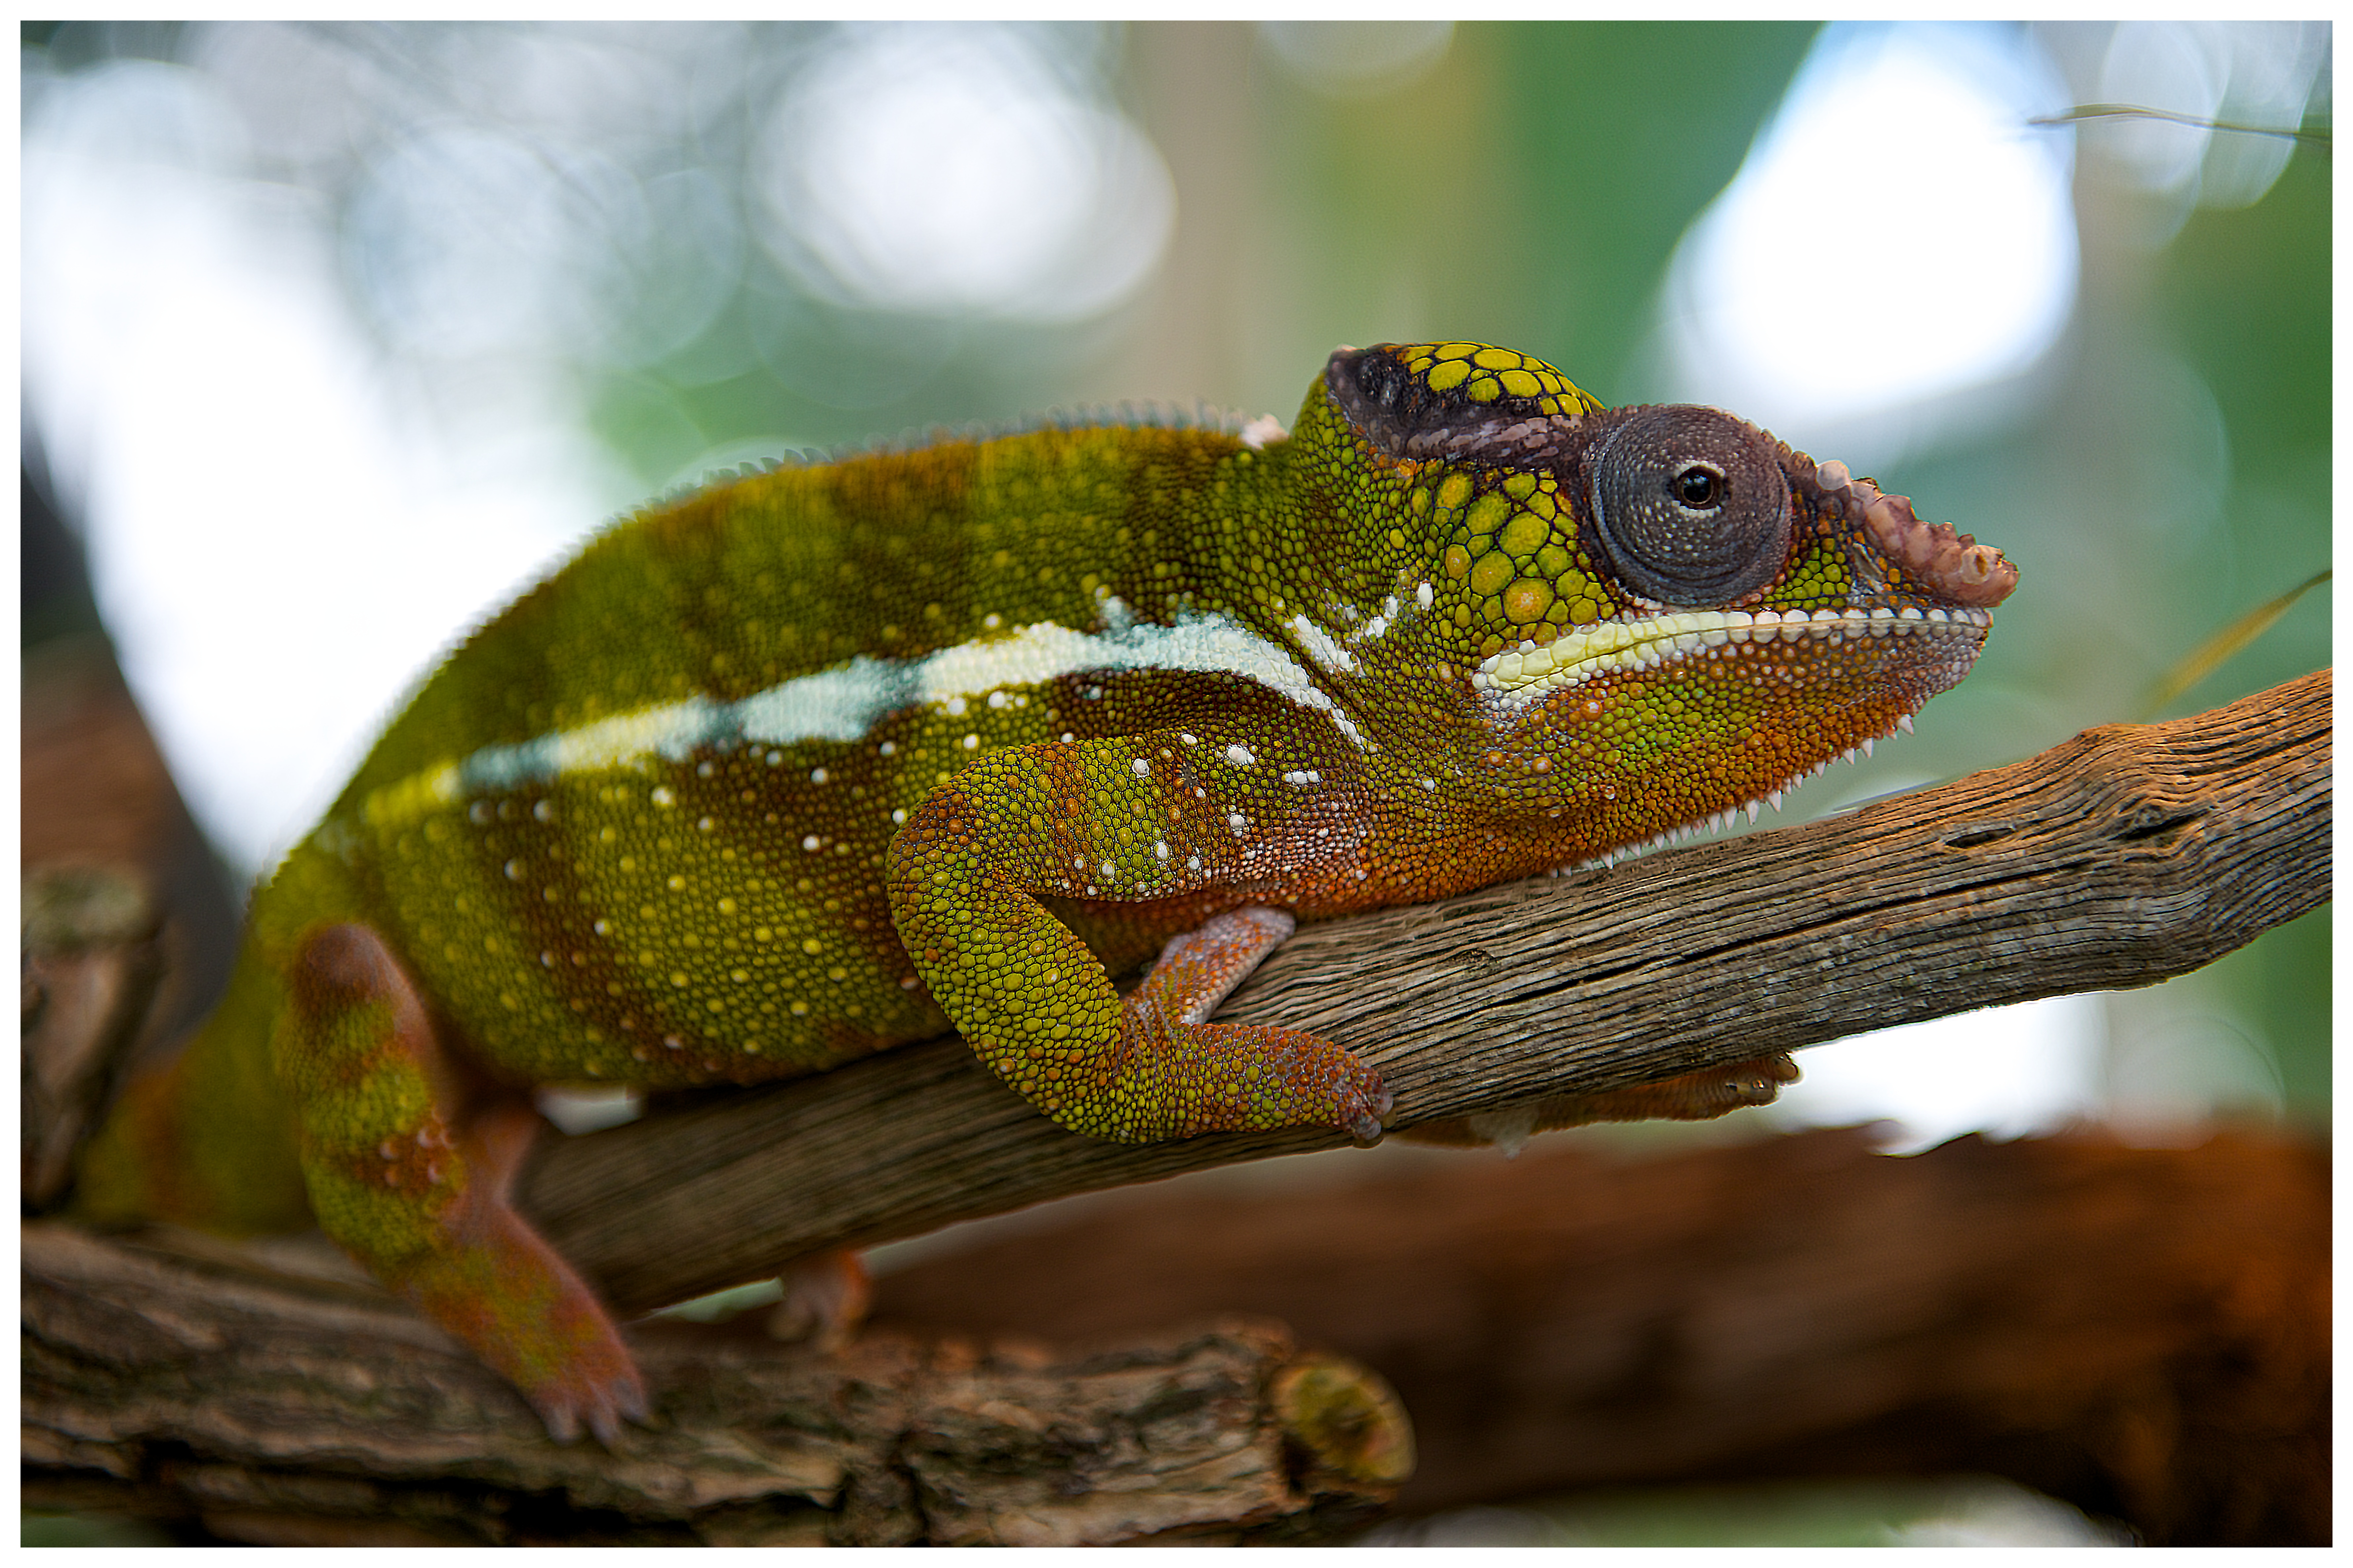
Ok. To the point. We all have them lurking in our picture libraries somewhere.That picture you like but isn’t quite how you imagined it. You’d throw it in the trash but haven’t got the heart to do it. Well here is mine. A rather shaken Chameleon Taken through glass with my arms holding the camera over my head while being jostled by a group of school kids at the zoo. As you can see it’s far from perfect.

You can see it’s shaken and a little out of focus around the eye and the definition of the skin is soft and the branch lacks definition. (Click on Image for a larger shot.)

Here you’re looking at the same shot with Apertures Magnifying glass. I exported the shot into PS and fired up the The Shake Reduction filter
 (Click on Image for a larger shot.)
You can define the areas you want the filter to measure for shake by clicking and dragging the cursor this takes a few moments depending on the size of the area you have defined or by default it choses an area. I’m no techwizz so you’ll have to go to Adobes page for an explanation of what is happening behind the scenes no doubt local sharpening is going on in some form or another. I don’t like to get bogged down with details I just like to see how it works on an image. After a few trials (Lets face it, it’s fun to push the sliders around to see what happens) with the sliders in different settings and watching a video on Adobe TV I was very happy with what I had. The eye looked,if not totally sharp it was very near what I wanted and, I doubt you would notice if you hung the shot on the wall.

This shot is an “after” also looking through the magnifying glass in Aperture
When you zoom out to a normal size you get this.
( Click on the image to see the results.)Not a bad result concidering the starting point.The skin has a lot more definition,as does the branch and that eye is beadier than ever.
I hope you enjoyed this little post. Thanks for stopping by.
On closing here is a link to Adobes own video for this filter
