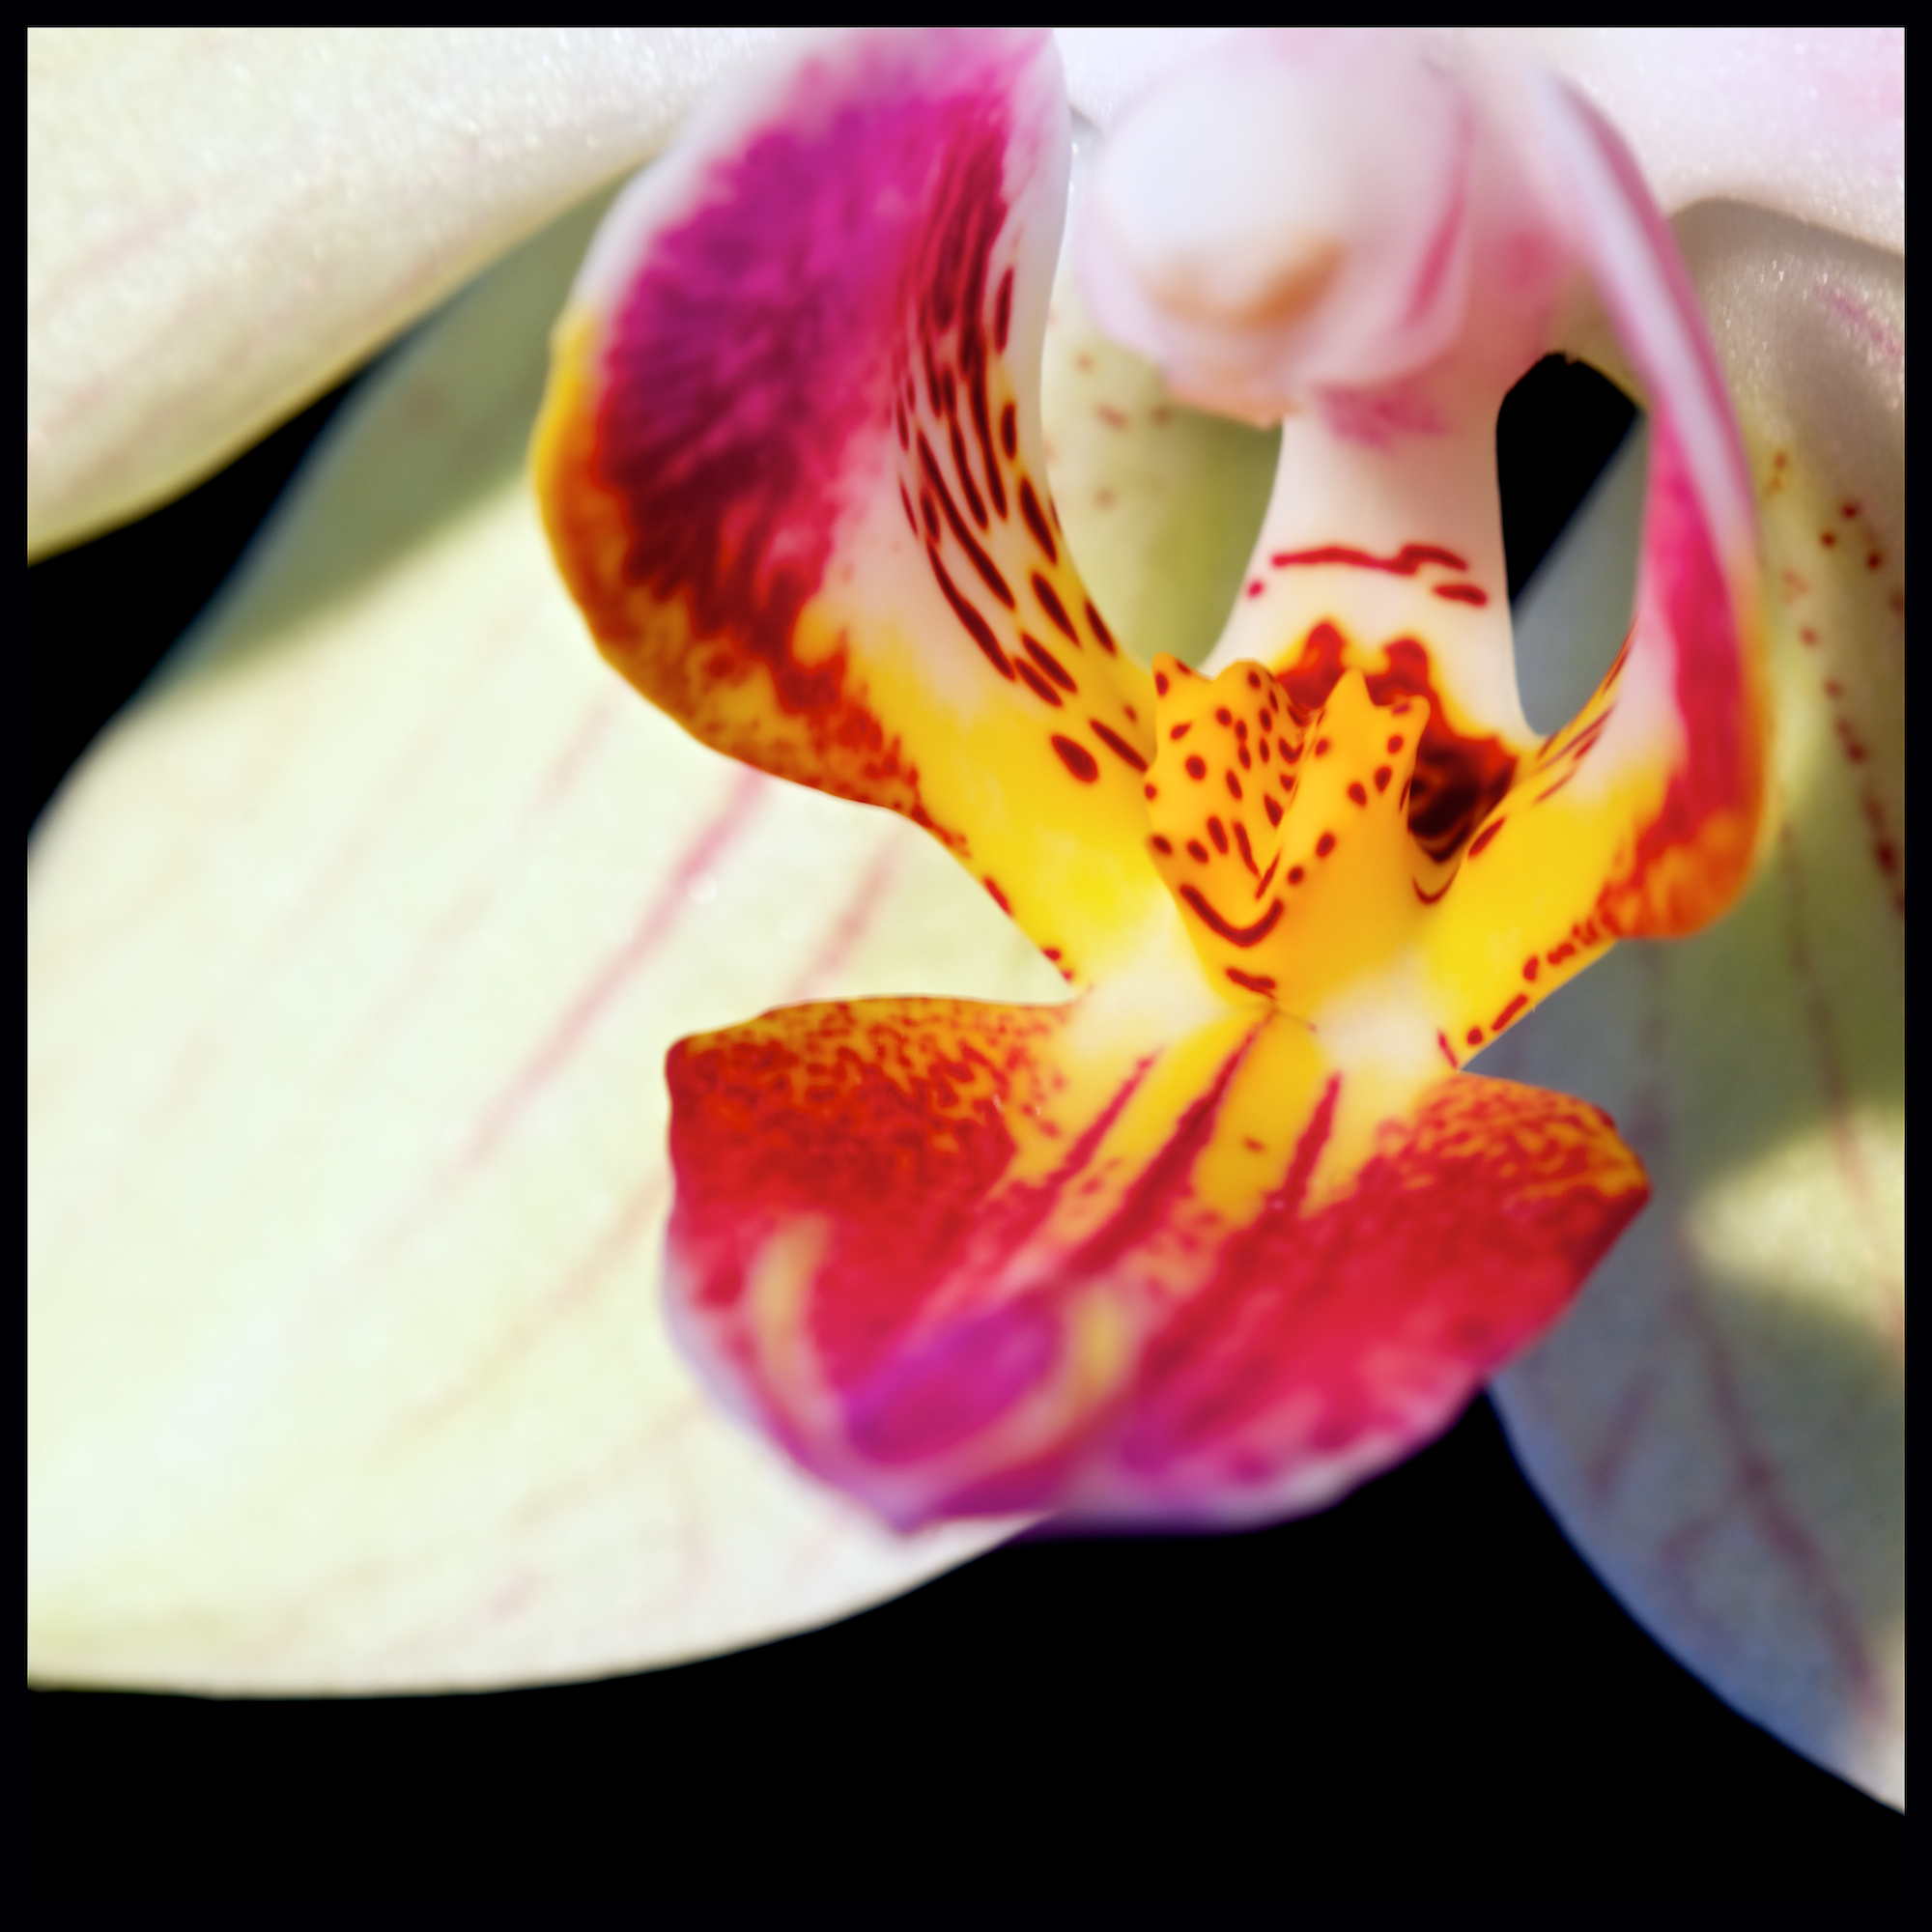
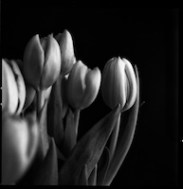
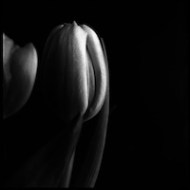
On Saturday my wife and I purchased some tulips to add some colour to our living room. I noticed how the early morning light brought out the subtle textures and the delicacy of the flower. I was up early on Sunday as my wife had an early shift and had gone to work. The Teens were still in bed. And I was looking for things to do. I looked at the Tulips while I munched my cornflakes and got an image in my head of how I’d like to shoot them. The early morning light was soft and reflected from our terrace by the thick layer of snow still lying there .
As I knew how I wanted to shoot the Tulips it was just a case of getting the reality to match the vision. That’s where it usually goes wrong for me. However, ever the optimist I felt that things would be better this time. I knew the film I wanted to use and how I wanted to develop it.
I set my Hasselblad 203FE on a borrowed Benbo tripod using a Hasselblad quick release plate. I then loaded the film I wanted to use, Rollei 80s. My table top set-up was very simple Just a plain background (Jig-saw Puzzle carrying case) and natural light from the window.
The lens I used was the Carl Zeiss Planar 80mm F2.8 , Using a different extension tube for each series of shots . I let the Hasselblad decide the metering and for want of a quick release I raised the mirror and then used the self-timer set at 2 seconds to take the exposure.
It’s easy with the 203 you just pull the pre-release once to raise the mirror and once again to set the self -timer in action.
Here’s a shot of the set-up. Nothing complicated here :0)

Ok so I had a blast taking shots with my Hasselblad. When I was finished it was all about the film. There was never any question . Caffenol is “soup of the day”
I use a slightly different recipe from the one I give on my Caffenol page using less Washing soda and 1 gram Potassium Bromide.(If you live in the UK you can buy it as I did here.)This prevents the film from fogging and helps if you are getting un-even development. Being lazy after all it was Sunday morning I chose to stand develop this film. Once in the tank pour in your prepared soup agitate for the first minute and then leave to stand for 49mins (Just enough time for bacon and eggs and a little light reading). Stop with ordinary plain water. Fix for 5 mins (I used Kodak T-Max) and rinse for 10 mins . I air dry my negatives for about 5 hours it varies with the temperature in our laundry room.
I scanned the negatives with my Epson V700 Scanner using a Betterscanning holder and anti newton glass to flatten the negatives. I use Silverfast SW for the scanning work I then import to Aperture and tweak in Silver Efex Pro 2(Very little tweaking was needed with these negatives. Here’s the result click on each for a larger version.

Here’s the Caffenol Recipe I used
Washing soda (Stabil) 16gr/l
Vitamin C (Santa maria) 10 gr/l
Potassium Bromide 1gr/l
Instant Coffee 40gr/l
Inversions for the 1st minute and then left to stand for 49mins
Start with your liter of water at 19degrees C and then Stir in each ingredient in turn stir until all is dissolved Let it stand (While you load your fil into the tank usually works for me)
That was my Sunday How was yours?