In full Reverse.


Wild Anemone


So you want to get close-up and personal with your subject. However you haven’t the funds to purchase that macro lens. Well there is hope, and a much cheaper solution to get you closer. I’m talking about the humble reversing ring. Cheap and cheerful and it does a good job if used correctly. What is a reversing ring? Well as the name implies it enables you to mount a lens reversed onto your camera housing. You screw the ring onto the filter thread of your lens and there is a bayonet mount to attach the lens to the camera. You have to order the one that

1. Is the same size thread as your lens, and

2. Is the right type for your make of camera.

The Humble reversing ring 52mm


Lens mounted in reverse

While on the subject of lenses. I use an old manual focus lens or an old autofocus lens that has an aperture ring If you haven’t got one all is not lost you can use a G type lens you just haven’t got an idea of what aperture you are using. I have found that a 28mm lens is a good place to start. Although I have used a 50mm without problems. It’s all to do with ratios and the like. Anyway as it’s the picture that is important I won’t go into that side of things so just trust me. The choice of lens will however affect your working distance to your chosen subject.

So how do you work the aperture of your lens? The aperture on your lens is spring loaded so that your aperture will in effect be f22 when mounted and when you look through your viewfinder or at your live view screen you will see a darker image than what you are used to. However by locating the aperture control lever on the lens you can open the aperture manually for composing and focusing your shot. This can be tricky to do, you can tape the lever open or Blu-Tac it. I prefer to hold it open and move the camera into focus. I then close the aperture to the desired value and adjust the manual settings on my camera to match the measured light and bracket my exposures. It’s a bit of a fiddle but you are rewarded for your efforts.

Aperture Adjustment lever


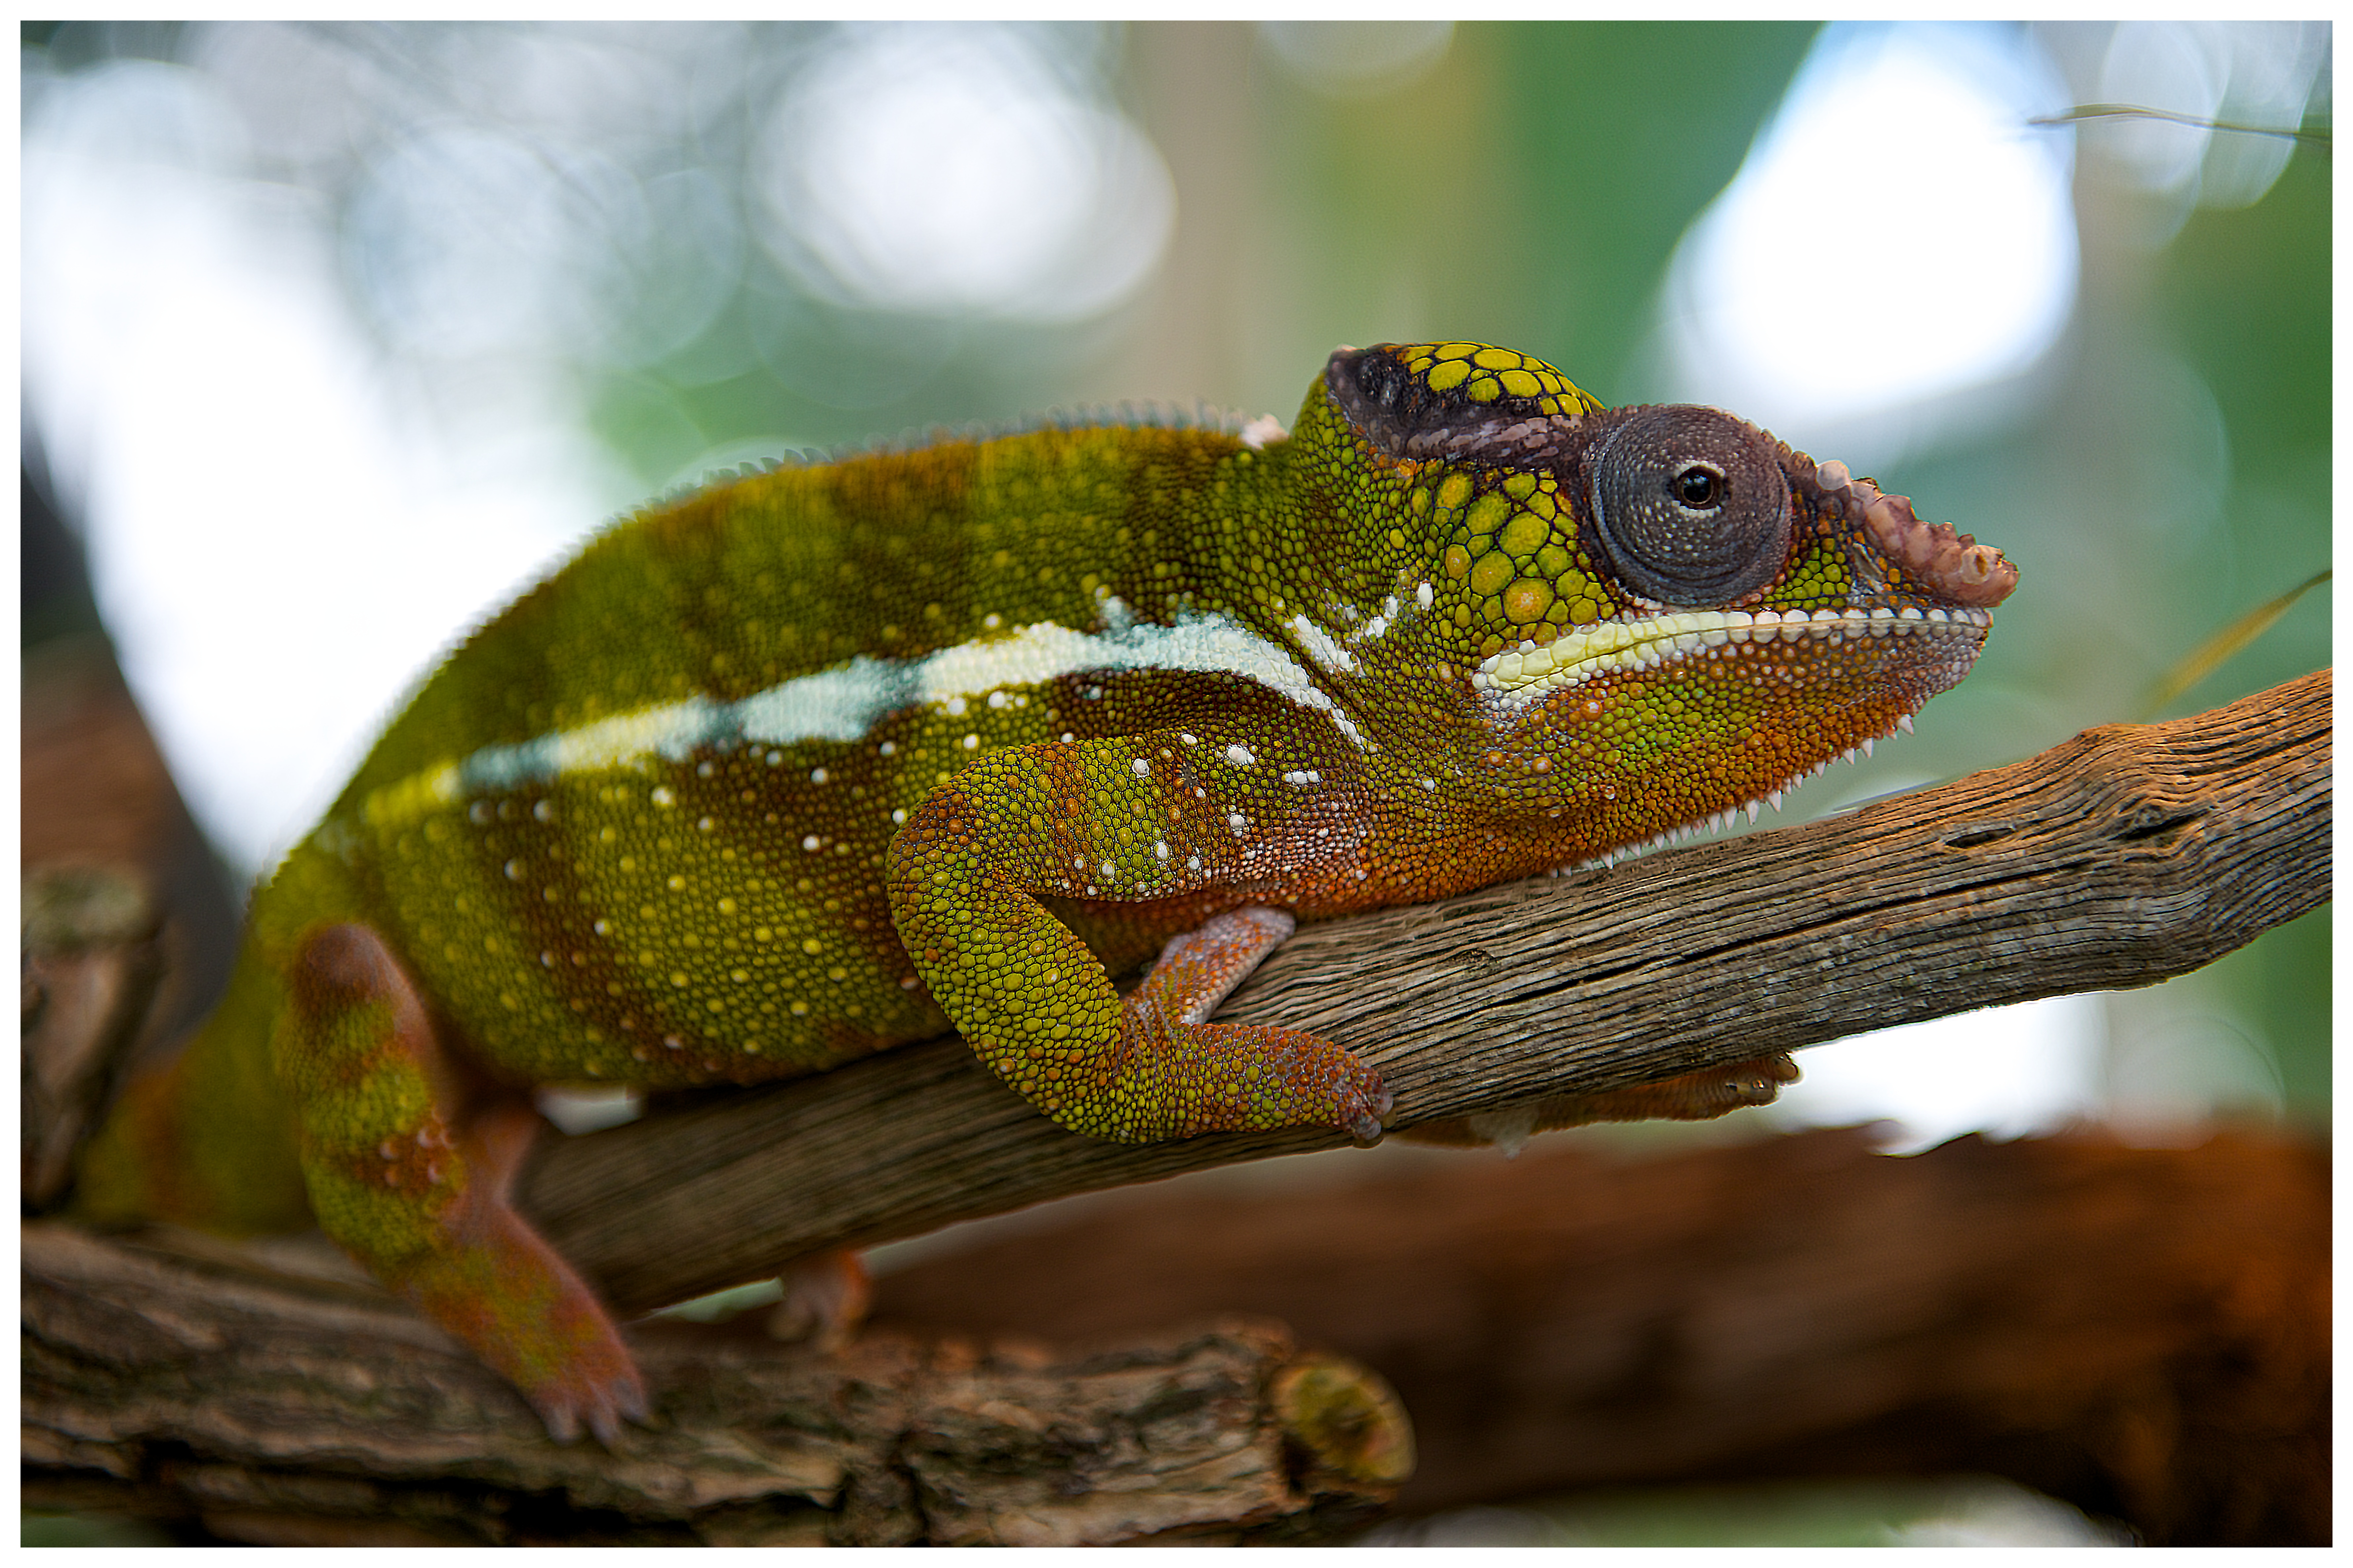
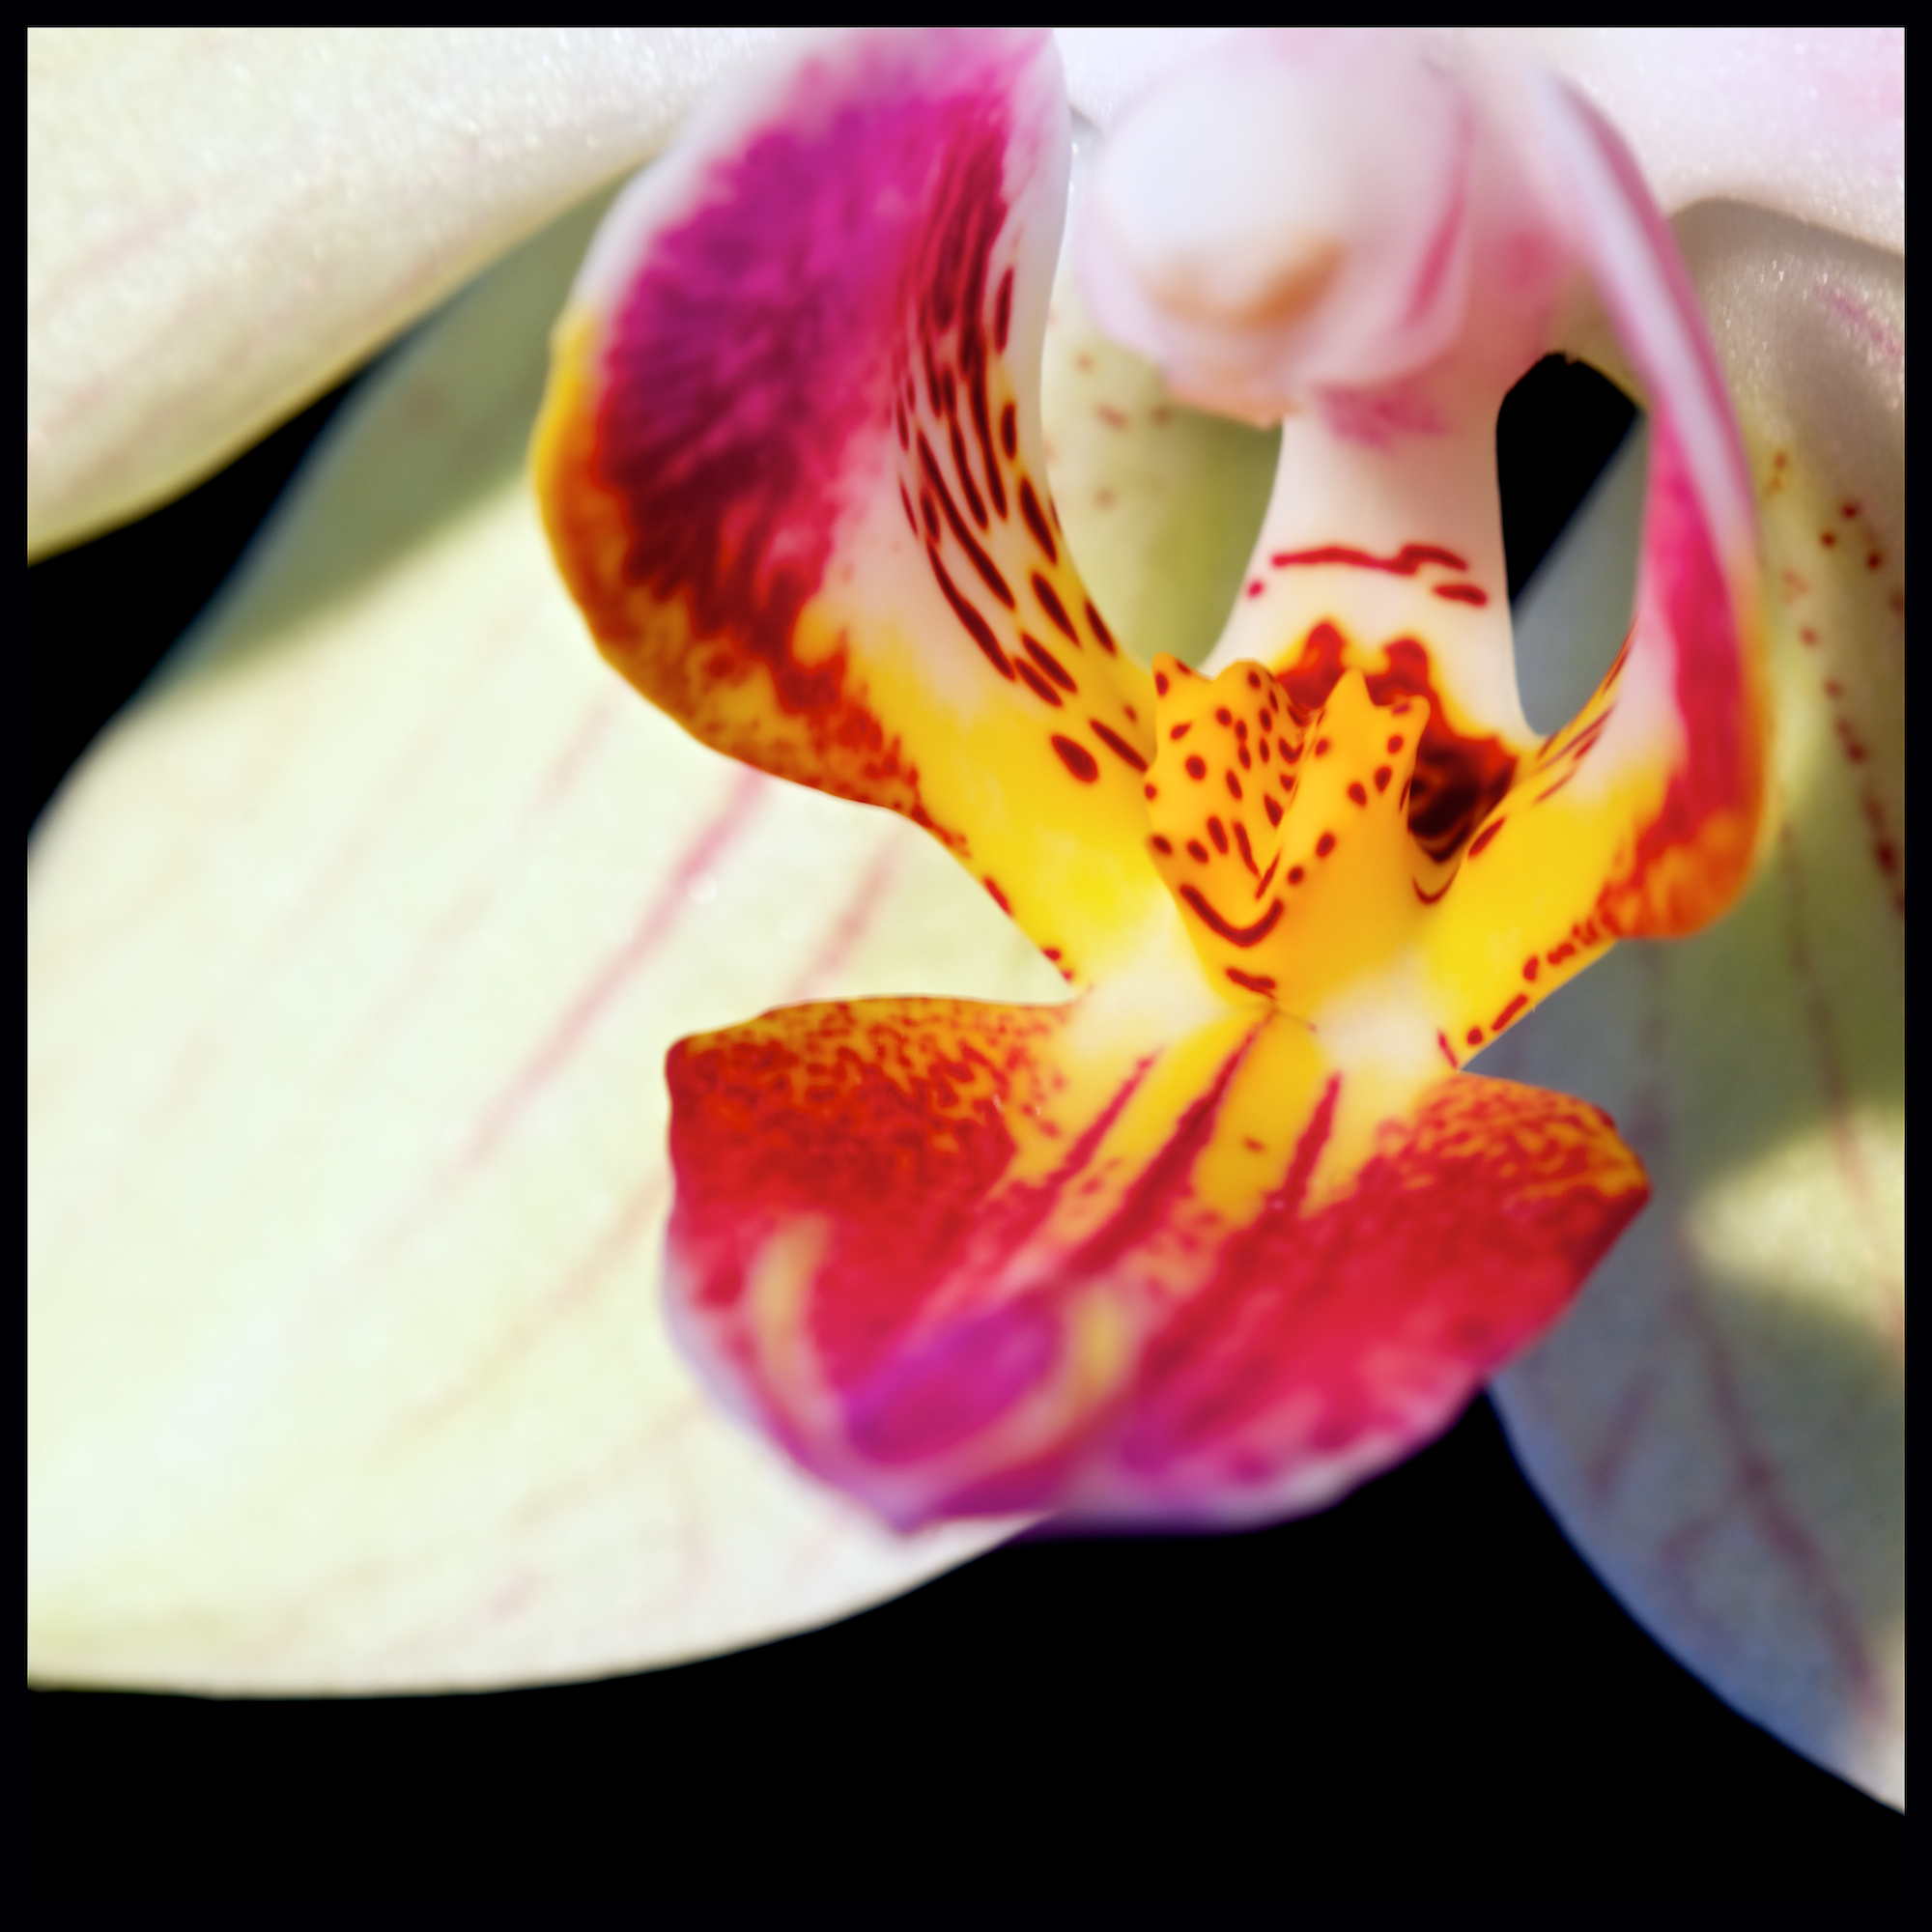
So to sum up the humble reversing ring is a cheap and cheerful introduction to the word of close up photography. You can get good results. The title shot and the orchid below are a couple taken with an old manual focus Sigma 28mm lens from the 80’s.

Have fun

Orchid

Pinhole Package from Poland.


DSC_3963 (1)

A couple of weeks ago I stumbled upon a beautiful handmade Vermeer wooden Pinhole camera, which, are handmade in Poland by Czarek Bartczak .I ordered one the moment I saw it. Pure impulse. I’ve never tried Pinhole cameras before. Nothing like going in at the deep end I thought. In the end I ordered a Vermeer 6×17 curved plane camera, which, exposes 3 6×6 frames at the same time on120 film making a panorama. You get four Images on a 120 roll film. Has an aperture of F/300 and a focal length of 90mm which given the negative size equals around 21 mm in 35mm format.

You have to supply your own take-up spool as the camera comes without one so if you are thinking of buying one don’t throw out your old 120 spools keep at least one. I had plenty lying around so no problem. Loading is just a question of feeding the film from one spool to the next over the curved plane inside the camera. Remember that this camera exposes 3 frames at a time. So when winding on you‘ll need to look for numbers 2,5,8,and11 through frame count window at the back of the camera.

For help with exposure I used an iPhone App Pinhole Assistant. I was able to measure the light and compensate for reciprocity failure* all in the app.
The shot here was a 10 sec exposure. To frame the shot I used a Leica 21 mm viewfinder but you can use your iPhone or just your eyes too. It’s part of the fun. It was shot on TMax 100 asa 120 film developed for 6 mins in Adox Adonal

PHmj1


Click on the image to see it larger

IMG_1774

I can really recommend Vermeer cameras Czarek was a pleasure to deal with. I’m saving for another already :0)


Some Links

I purchased my Vermeer here

Reciprocity failure an explanation

iPhone App I use


Unshaken: Photoshop CC’s Camera shake filter

Unshaken Photshop CC’s Camera shake filterUntitled Blog Post NameI’ve had PS CC for some months now and like most beginners I’m a little overwhelmed by the huge behemoth that it is. My creativity and experience  is the thing that sets the barriers. I try and learn a little by watching Adobe TV and reading articles on the web and in magazines. There are just so many and everyone has a different way to explain things.  Let me state right away this in no way is a  “How To” type post it’s more of a “What it can do for you.” Post.

Ok. To the point. We all have them lurking in our picture libraries somewhere.That picture you like but isn’t quite how you imagined it. You’d throw it in the trash but haven’t got the heart to do it. Well here is mine. A rather shaken Chameleon Taken through glass with my arms holding the camera over my head while being jostled by a group of school kids at the zoo. As you can see it’s far from perfect.
DSC_2717
You can see it’s  shaken and a little out of focus around the eye and the definition of the skin is soft and the branch lacks definition. (Click on Image for a larger shot.)
Here you’re looking at the same shot with Apertures Magnifying glass. I exported the shot into PS and fired up the  The Shake Reduction filter
You can define the areas you want the filter to measure for shake by clicking and dragging the cursor this takes a few moments depending on the size of the area you have defined or by default it choses an area. I’m no techwizz so you’ll have to go to Adobes page for an explanation of what is happening behind the scenes no doubt local sharpening is going on in some form or another. I don’t like to get bogged down with details I just like to see how it works on an image. After a few trials (Lets face it, it’s fun to push the sliders around to see what happens) with the sliders in different settings and watching a video on Adobe TV I was very happy with what I had. The eye looked,if not totally sharp it was very near what I wanted and, I doubt you would notice if you hung the shot on the wall.
This shot is an “after” also looking through the magnifying glass in Aperture
When you zoom out to a normal size you get this.
DSC_2717 (1)
( Click on the image to see the results.)Not a bad result concidering the starting point.The skin has a lot more definition,as does the branch and that eye is beadier than ever.
I hope you enjoyed this little post. Thanks for stopping by.
On closing here is a link to Adobes own video for this filter